Hi everyone! It is almost St. Patrick's Day so we decided we would post a couple St. Patrick's Day related things! Hope you enjoy!
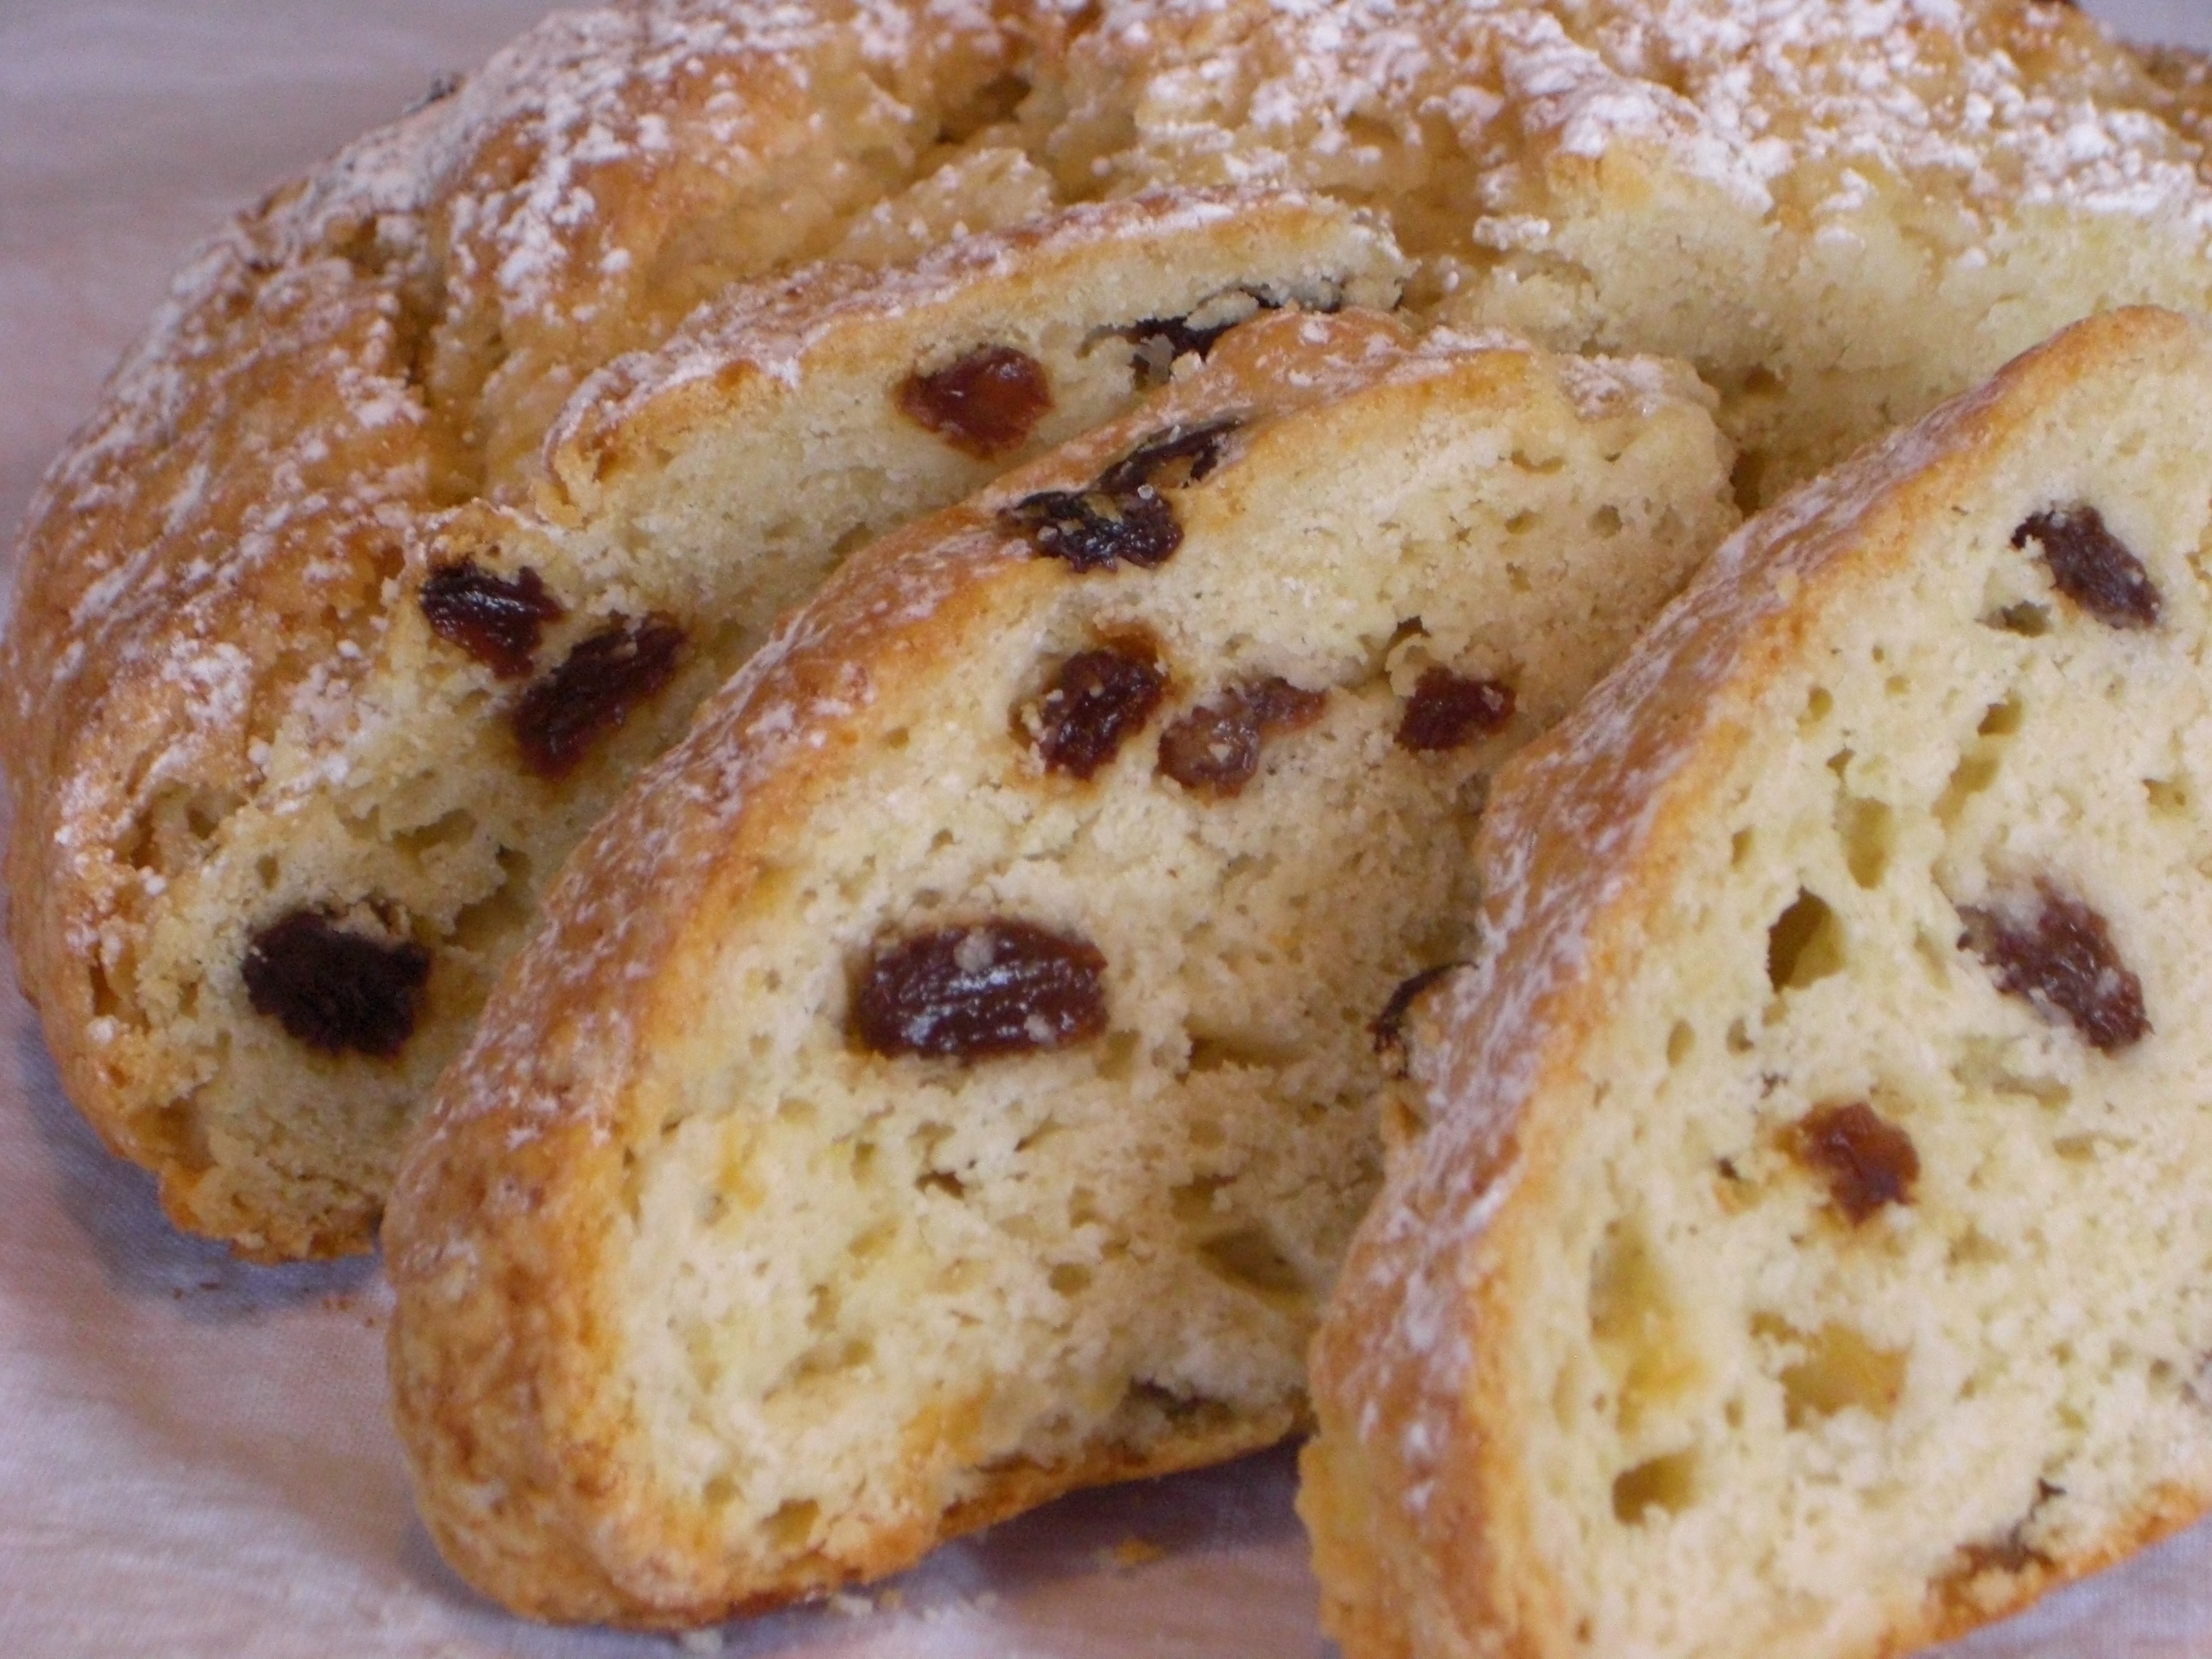
Irish Soda Bread:
Prep time: 15 minutes
Cook Time: 40 minutes
INGREDIENTS:
- 4 to 4 1/2 cups flour
- 1 tbsp. sugar
- 1 tsp. salt
- 1 tsp. baking soda
- 4 tbsp. butter
- 1 cup currants or raisins
- 1 large egg, lightly beaten
- 1 3/4 cup buttermilk
*did you know you can make buttermilk at home by mixing together milk and vinegar?*
DIRECTIONS:
1. Preheat oven to 425 degrees. Mix together flour, sugar, salt, and baking soda into a mixing bowl.
2. Using your fingers, work the butter into the flour mixture until it resembles coarse meal, then add raisins.
3. Make a well in the center of the flour mixture. Add beaten egg and buttermilk to well and mix in with a wooden spoon until dough is too stiff to stir. Dust hands with a little flour, then gently knead dough in the bowl just long enough to form a rough ball. If the dough is too sticky to work with, add in a little more flour. Do not over-knead!
4. Transfer dough to a lightly floured surface and shape into a round loaf. Note that the dough will be a little sticky, and quite shaggy (a little like a shortcake biscuit dough). You want to work it just enough so that the flour is just moistened and the dough just barely comes together. Shaggy is good. If you over-knead, the bread will end up tough.
5. Transfer dough to a large, lightly greased cast-iron skillet or a baking sheet (it will flatten out a bit in the pan or on the baking sheet). Using a serrated knife, score top of dough about an inch and a half deep in an "X" shape. The purpose of the scoring is to help heat get into the center of the dough while it cooks. Transfer to oven and bake until bread is golden and bottom sounds hollow when tapped, about 35-45 minutes. (If you use a cast iron pan, it may take a little longer as it takes longer for the pan to heat up than a baking sheet.) Check for doneness also by inserting a long, thin skewer into the center. If it comes out clean, it's done.
6. Remove pan or sheet from oven, let bread sit in the pan or on the sheet for 5-10 minutes, then remove to a rack to cool briefly. Serve bread warm, at room temperature, or sliced and toasted. Best when eaten warm and just baked.
Recipe courtesy: simply recipes
Read more: http://www.simplyrecipes.com/recipes/irish_soda_bread/#ixzz3UMt7Hl00
Thanks for reading!
XOXO, Lauren and Brittany Parkwood <3
Saturday, March 14, 2015
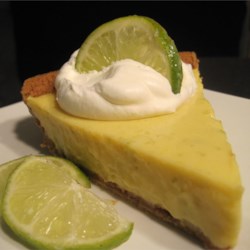
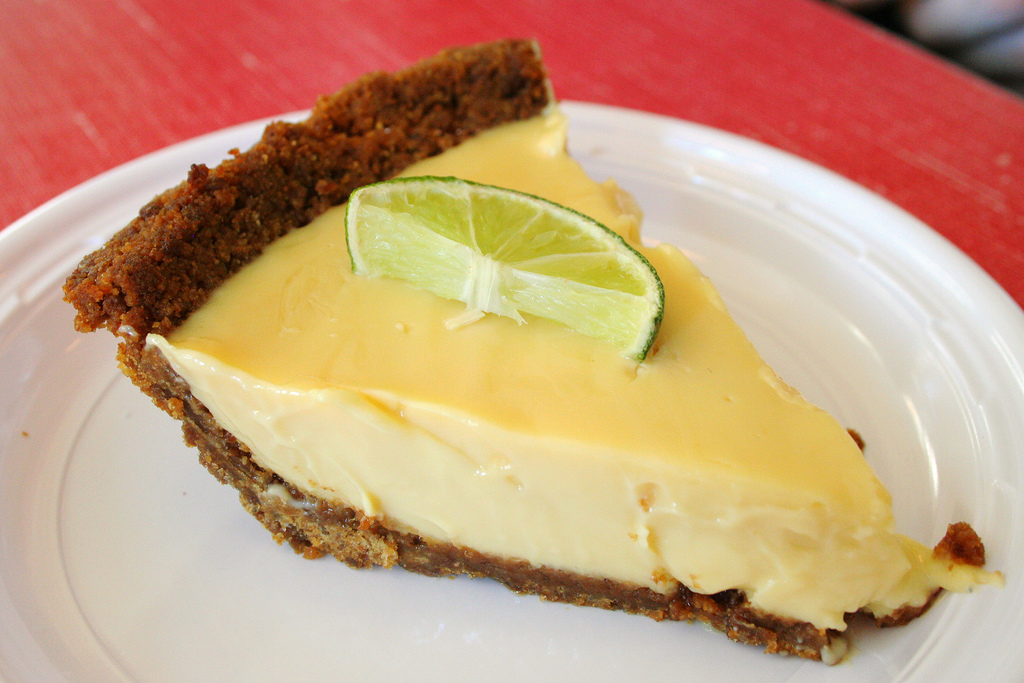
Key Lime Pie
Hi everyone! Since today is Pi Day we have decided to show you a recipe of one of our favorite pies!
Key Lime Pie:
Prep time: 20 minutes
Cook Time: 15 minutes
INGREDIENTS:
- 5 beaten egg yolks
- 1 can sweetened condensed milk
- 1/2 cup key lime juice
-1 graham cracker crust (you could make this homemade if you like)
DIRECTIONS:
1. Preheat oven to 350 degrees.
2. Combine egg yolks, sweetened condensed milk, and lime juice. Mix well. Pour into pie shell.
3. Bake for 15 minutes. Allow to cool and then add whipped topping or garnish with lime slices (optional). There you have it! An easy pie to celebrate pi!
Happy pi day! Thanks for reading this!
XOXO, Lauren and Brittany Parkwood <3
How to: Bubblegum Cupcakes
Hi everyone! We are so sorry we have not posted in forever! But today, we decided to show you how to make bubblegum cupcakes since who does not like cupcakes?
Prep time: 25 minutes
Cooking Time: 1 hour and 10 minutes
INGREDIENTS:
- 1 package White cake mix (or you can make your own cake)
- things you need for the cake mix
- 1 container frosting (or you can make your own like we do)
- 6 drops red food coloring
-4 drops blue food coloring
- rainbow sprinkles and bubble gumballs
DIRECTIONS:
1. Preheat oven to 350 degrees and line a cupcake pan with paper liners.
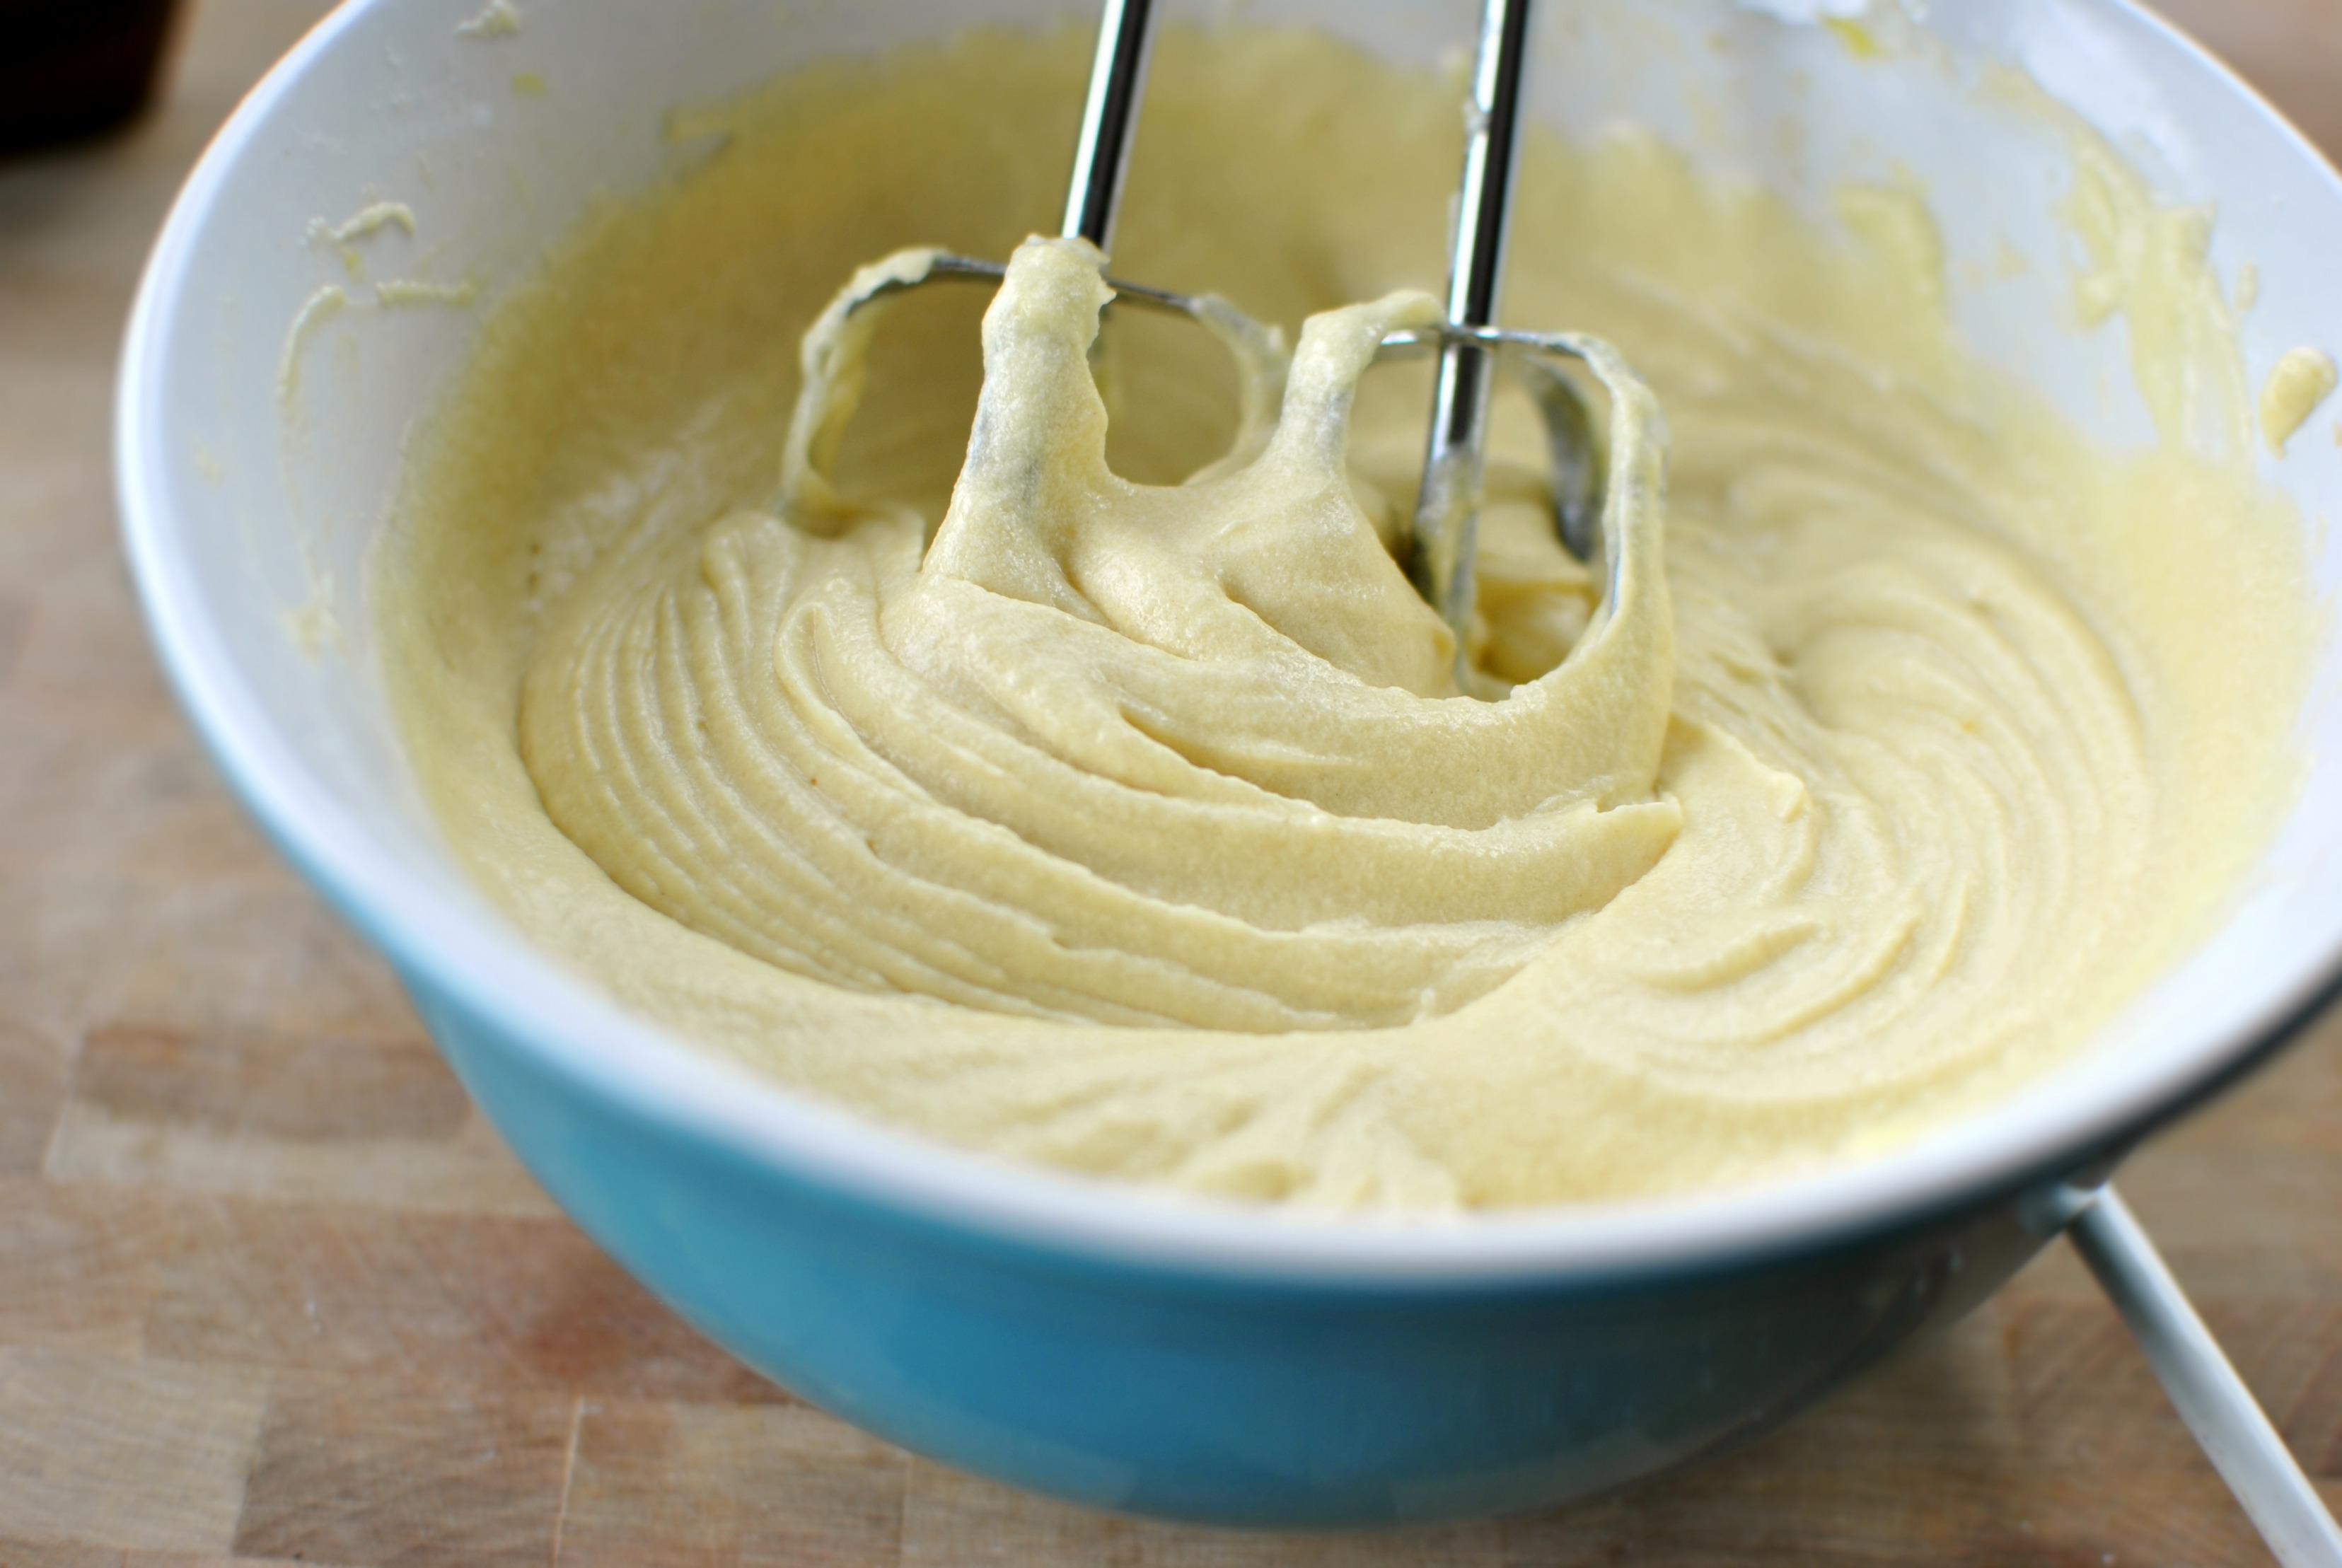
2. Combine cake mix with water, oil, and eggs in a large bowl.
3. Beat with an electric mixer for 2 minutes and then spread batter evenly into cupcake pan.
4. Bake for 18 minutes.
5.Cool cupcakes COMPLETELY! Remember if the cupcakes are still warm, the icing on top will melt!
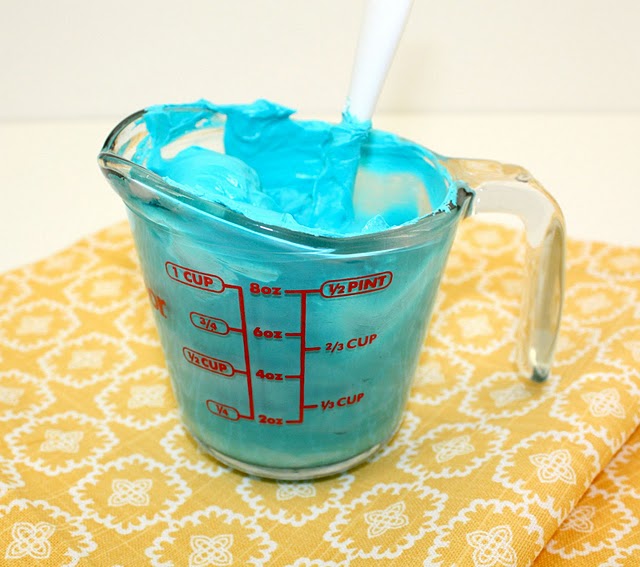
6. Blend frosting with red and blue food coloring.
7. Spread frosting on cupcakes and decorate with gumballs and sprinkles.
Thanks for reading this! Comment what we should do next!
XOXO, Lauren and Brittany Parkwood <3
Thursday, March 5, 2015
5 Free Apps to Perfect Your Instagram Pictures
Hi everyone! Today we decided to show you 5 free awesome apps that can help YOU perfect your instagram pictures! I hope you enjoy our tips and that this helps!
1. Rookie Filter Camera Photo Editor
This app has over 10 totally different filters, makes your pictures look professional, and make you look super chic!
2. VSCO Cam
You can create your own preset, change the lighting, change the filter, and much more!
3. Font Candy
Make awesome photo edits and add text with AWESOME fonts!
4. BeFunky Photo Editor
This is an awesome photo editor because you can touch up lipstick, bronzer, blemishes, change your eye color, whiten teeth, and more!
5. Squaready
This app really helps you to fit in everything in your instagram picture and have the perfect layout.
And there you have it! If you are interested, we highly recommend you check out these apps!
XOXO, Lauren and Brittany Parkwood <3
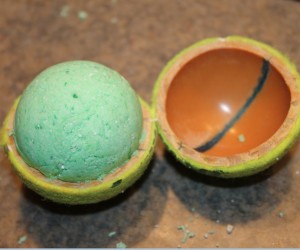
DIY Bath Bombs
Hi everyone! We are so sorry we have not posted in a while we just have been super busy with our cheerleading tournament. So, we decided to show you this easy "recipe" for bath bombs because what is better than a bath with bath bombs??? :)
Supplies you will need:
- 8 oz. of baking soda
- 4 oz. of citric acid
- 4 oz. of corn starch
- 4 oz. of espom salts (make sure they are fine grained)
- 3/4 tsp. of water
- 2 tsp. essential oil
- 2.5 tsp. almond oil (optional)
- a few drops of food coloring
- round, plastic, snap together dome molds
- whisk
- bowl and cup for mixing
- a fluffy towel
1. Combine all of your dry ingredients into a bowel and mix.
2. In a cup, mix together the dry ingredients.
3. Then, mix the wet ingredients with the dry ingredients and stir.
4. Pack mixture into molds.
5. Press together.
6. Let dry. This should usually take a couple of minutes!
And then voila! Beautiful bath bombs that you made yourself!
Pictures:
Hope you enjoyed this DIY! Leave comments on what we should do next!
XOXO, Lauren and Brittany Parkwood <3
Sunday, March 1, 2015
How To: Dessert Hamburger
Hi everyone! Today we are going to show you how to make a dessert hamburger. This is a sweet version of your normal hamburger with cake and other sweet treats!
Here is a picture of what they turn out like:
Prep time: 20 minutes
Cook Time: 1 hour and 10 minutes
INGREDIENTS:
-2 18 .25-ounce box chocolate cake mix
-8 large eggs
- 2 cups buttermilk
- 1 cup vegetable oil
- 1/4 cup sugar
- 8 spearmint leaf gummy candies
- 3 ounces orange rolled fondant
- cornstarch, for dusting
- vanilla frosting
- chocolate frosting
- yellow food coloring
- red food coloring
- 2 tablespoons crispy rice cereal
DIRECTIONS:
1. Preheat oven to 350 degrees F. Spray a 2 1/2- quart ovenproof bowl and 2 8 inch round cake pans with cooking spray.
2. Beat the cake mix, eggs, buttermilk, and vegetable oil in a large bowl with a mixer.
3. Divide the batter among the bowls and pans. Bake until a toothpick comes out clean, about 25 minutes for the pans and 45 minutes for the bowl. Then cool.
4. Make the lettuce: sprinkle some sugar on a cutting board. Roll out the spearmint candies to 1/8 inch thick with a rolling pin, sprinkling with more sugar to keep the candies from sticking.
5. Cut each flattened gummy into three strips. Fold each strip to create accordion style ruffles. Pinch the ends together.
6. Make the cheese: Roll out the fondant on a cornstarch dusted surface. Trim the fondant into a 7 inch square, wrap up, and set aside.
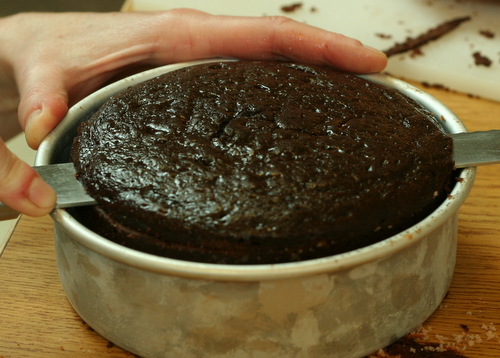
7. Trim the top of 1 round cake and the flat side of the bowl cake to make them level; crumble the trimmings.
8. Mix the vanilla icing, 4 tablespoons chocolate icing, and the red and yellow food coloring in a bowl to make a light brown frosting.
9. Make the bottom bun: Put the trimmed round cake on a serving plate or cake board. Frost with some of the light brown frosting. Arrange the gummy-candy ruffles around the edge of the cake.
10. Make the patty: Spread the remaining chocolate frosting over the top and sides of the untrimmed round cake. Press the crumbled cake trimmings into the frosting.
11. Assemble the burger: Put the chocolate patty on the bottom bun, then drape the fondant on top. Frost the bowl- shaped cake with the remaining light brown frosting and place on the patty. Press the rice cereal into the frosting.
Thanks for reading this! Hope you use this recipe courtesy of food network!
XOXO, Lauren and Brittany Parkwood <3
20 Ways to Glam Up Your Room
Hi everyone! We have some pretty awesome rooms and we would like you to join in on the fun so we thought we would show you 20 ways to glam up your room using girlslife.com.
1. Floating Wall Shelves
Spray paint a wooden crate and let it dry. Then, hang it up on your wall and fill it with whatever you want! TA DA! An easy DIY!
2. Chalkboard Banner
Coat wooden pennant flags with chalkboard paint. Write your favorite words on it and glam up your room!
3. Window Ribbons
Get a few rolls of grosgrain at the fabric store. Then loop 3 yard lengths over your curtain rod to glam up your windows!
4. Pinterest Clipboard Wall
Hang clipboards in a grid of six on your wall, then hang up quotes, magazine cutouts, and anything else you want! Change the pictures often and it will seem like your room keeps getting jazzed up!
5. Wall Decals
Check out dormify.com or some other websites for cool decals that are totally you! It is really easy and makes your room a hundred percent cuter!
6. Vintage Vanity Tray
Turn an ornate frame into a frilly tray by removing the glass and backing and replacing them with hot pin cardstock. Set it on your dresser and add perfume and jewelry! If you don't want to make the tray you can also use a box lid, it works pretty well!
7. Ribbon Chandelier
All you need is an embroidery hoop and a slew of leftover ribbons for a whimsical decoration!
8. Wallpapered Bookshelf
Just add a quick strip of adhesive and removable metallic wallpaper on the back panel of your bookshelf for an awesome look!
9. Pretty Drawer Pulls
Unscrew the usual pulls from your dresser or nightstand, then decoupage a printed fabric over top. Tie fabric over the knot and secure with a rubber band before decoupaging. Let dry overnight, then trim excess fabric and screw back in place.
10. Cute Cords
Use Washi tape to cover up your cords. Color code them using Washi tape to stay more organized and find your plug quicker.
11. Wild Washi Inbox
Layer standard Washi tape on a standard letter holder for cute way to get more organized!
12. Decoupaged Desk Drawers
Decoupage a cool collage of magazine cutouts and attach it to the bottom of your desk! WA LA!
13. Desk Chair Do Over
Have you had the same wooden chair for forever?? Spray paint it, let it dry, and then decorate with some cool pillows or a sheepskin throw.
14. Outfit Inspo Magnets
Stick magazine cut outs into mini magnets. Then put it on a message board and you can mix and match all you want!
15. Candy Jar Corrals
Get a candy jar and fill with clips, bows, hair ties, nail polish, candy, etc. Get a chalkboard label and attach it to the front for a cute look!
16. Clinch Scarf Rings
Wrap shower curtain rings in Washi tape and snap them on the bottom bar of a wooden hanger. Loop your scarves through the rings! TA DA! Beautiful!
17. Frame It Jewelry Organizer
String across a few strips of crochet trim over a picture. Attach some s hooks for stashing jewelry!
18. Silky Scarf Quilt
Whip up a coverlet by sowing together 6 vintage scarves. Hello, beautiful!
19. XOXO Wall Letters
Push quilters T- bar pins into foam board around a cardboard letter template you can DIY, then use a length of yarn to string the pins together for a color blocked effect!
20. Pompom Pillow Shams
Sow pompoms onto the edges of a basic throw pillow to glam up your bed!
Thanks for reading! Hope you use these to glam up your room!
XOXO, Lauren and Brittany Parkwood <3
Subscribe to:
Posts (Atom)